Siglent Oscilloscope Control
Welcome to the Siglent Oscilloscope Control library documentation!
- Quick Start
Get up and running in minutes with our quick start guide
- User Guide
Learn how to use all features of the library
- GUI Application
Discover the powerful GUI for interactive control
- API Reference
Complete API documentation for all modules
Overview
This library provides comprehensive control for Siglent oscilloscopes via SCPI over Ethernet. It supports both programmatic control through a Python API and interactive control through a feature-rich PyQt6 GUI.
Supported Models
- SDS800X HD Series (e.g., SDS824X HD)
- SDS1000X-E Series
- SDS2000X Plus Series
- SDS5000X Series
Key Features
- Waveform Acquisition - Capture and analyze waveforms with full metadata
- Channel Control - Configure voltage scale, offset, coupling, and probe settings
- Trigger Management - Full control over trigger modes, levels, and edge detection
- Measurements - 20+ automated measurements (frequency, Vpp, rise time, etc.)
- FFT Analysis - Frequency domain analysis of captured waveforms
- Protocol Decoding - Decode I2C, SPI, and UART protocols
- Automation - High-level automation classes for data collection
- Real-time Live View - High-performance waveform display (1000+ fps)
- Visual Measurements - Click-and-drag measurement markers
- FFT Display - Interactive frequency analysis
- Protocol Decoder - Visual protocol decoding interface
- VNC Integration - Remote access to oscilloscope screen
- Vector Graphics - Draw shapes and text in XY mode
- Export - Save waveforms to CSV, NPZ, MAT, HDF5, and images
- Multi-channel - Simultaneous capture from all channels
- Thread-safe - Background data acquisition without blocking
- Type hints - Full type annotation for IDE support
- Extensive tests - 240+ tests with 42% coverage
- Documentation - Comprehensive docstrings and guides
Installation
Install the base package:
Or install with all features:
See the Installation Guide for more options.
Quick Example
from scpi_control import Oscilloscope

# Connect to oscilloscope
scope = Oscilloscope('192.168.1.100')
scope.connect()

# Configure channel 1
scope.channel1.voltage_scale = 1.0  # 1V/div
scope.channel1.enabled = True

# Capture waveform
waveform = scope.get_waveform(1)
print(f"Captured {len(waveform)} samples")

# Get measurements
freq = scope.measure.frequency(1)
vpp = scope.measure.vpp(1)
print(f"Frequency: {freq} Hz, Vpp: {vpp} V")
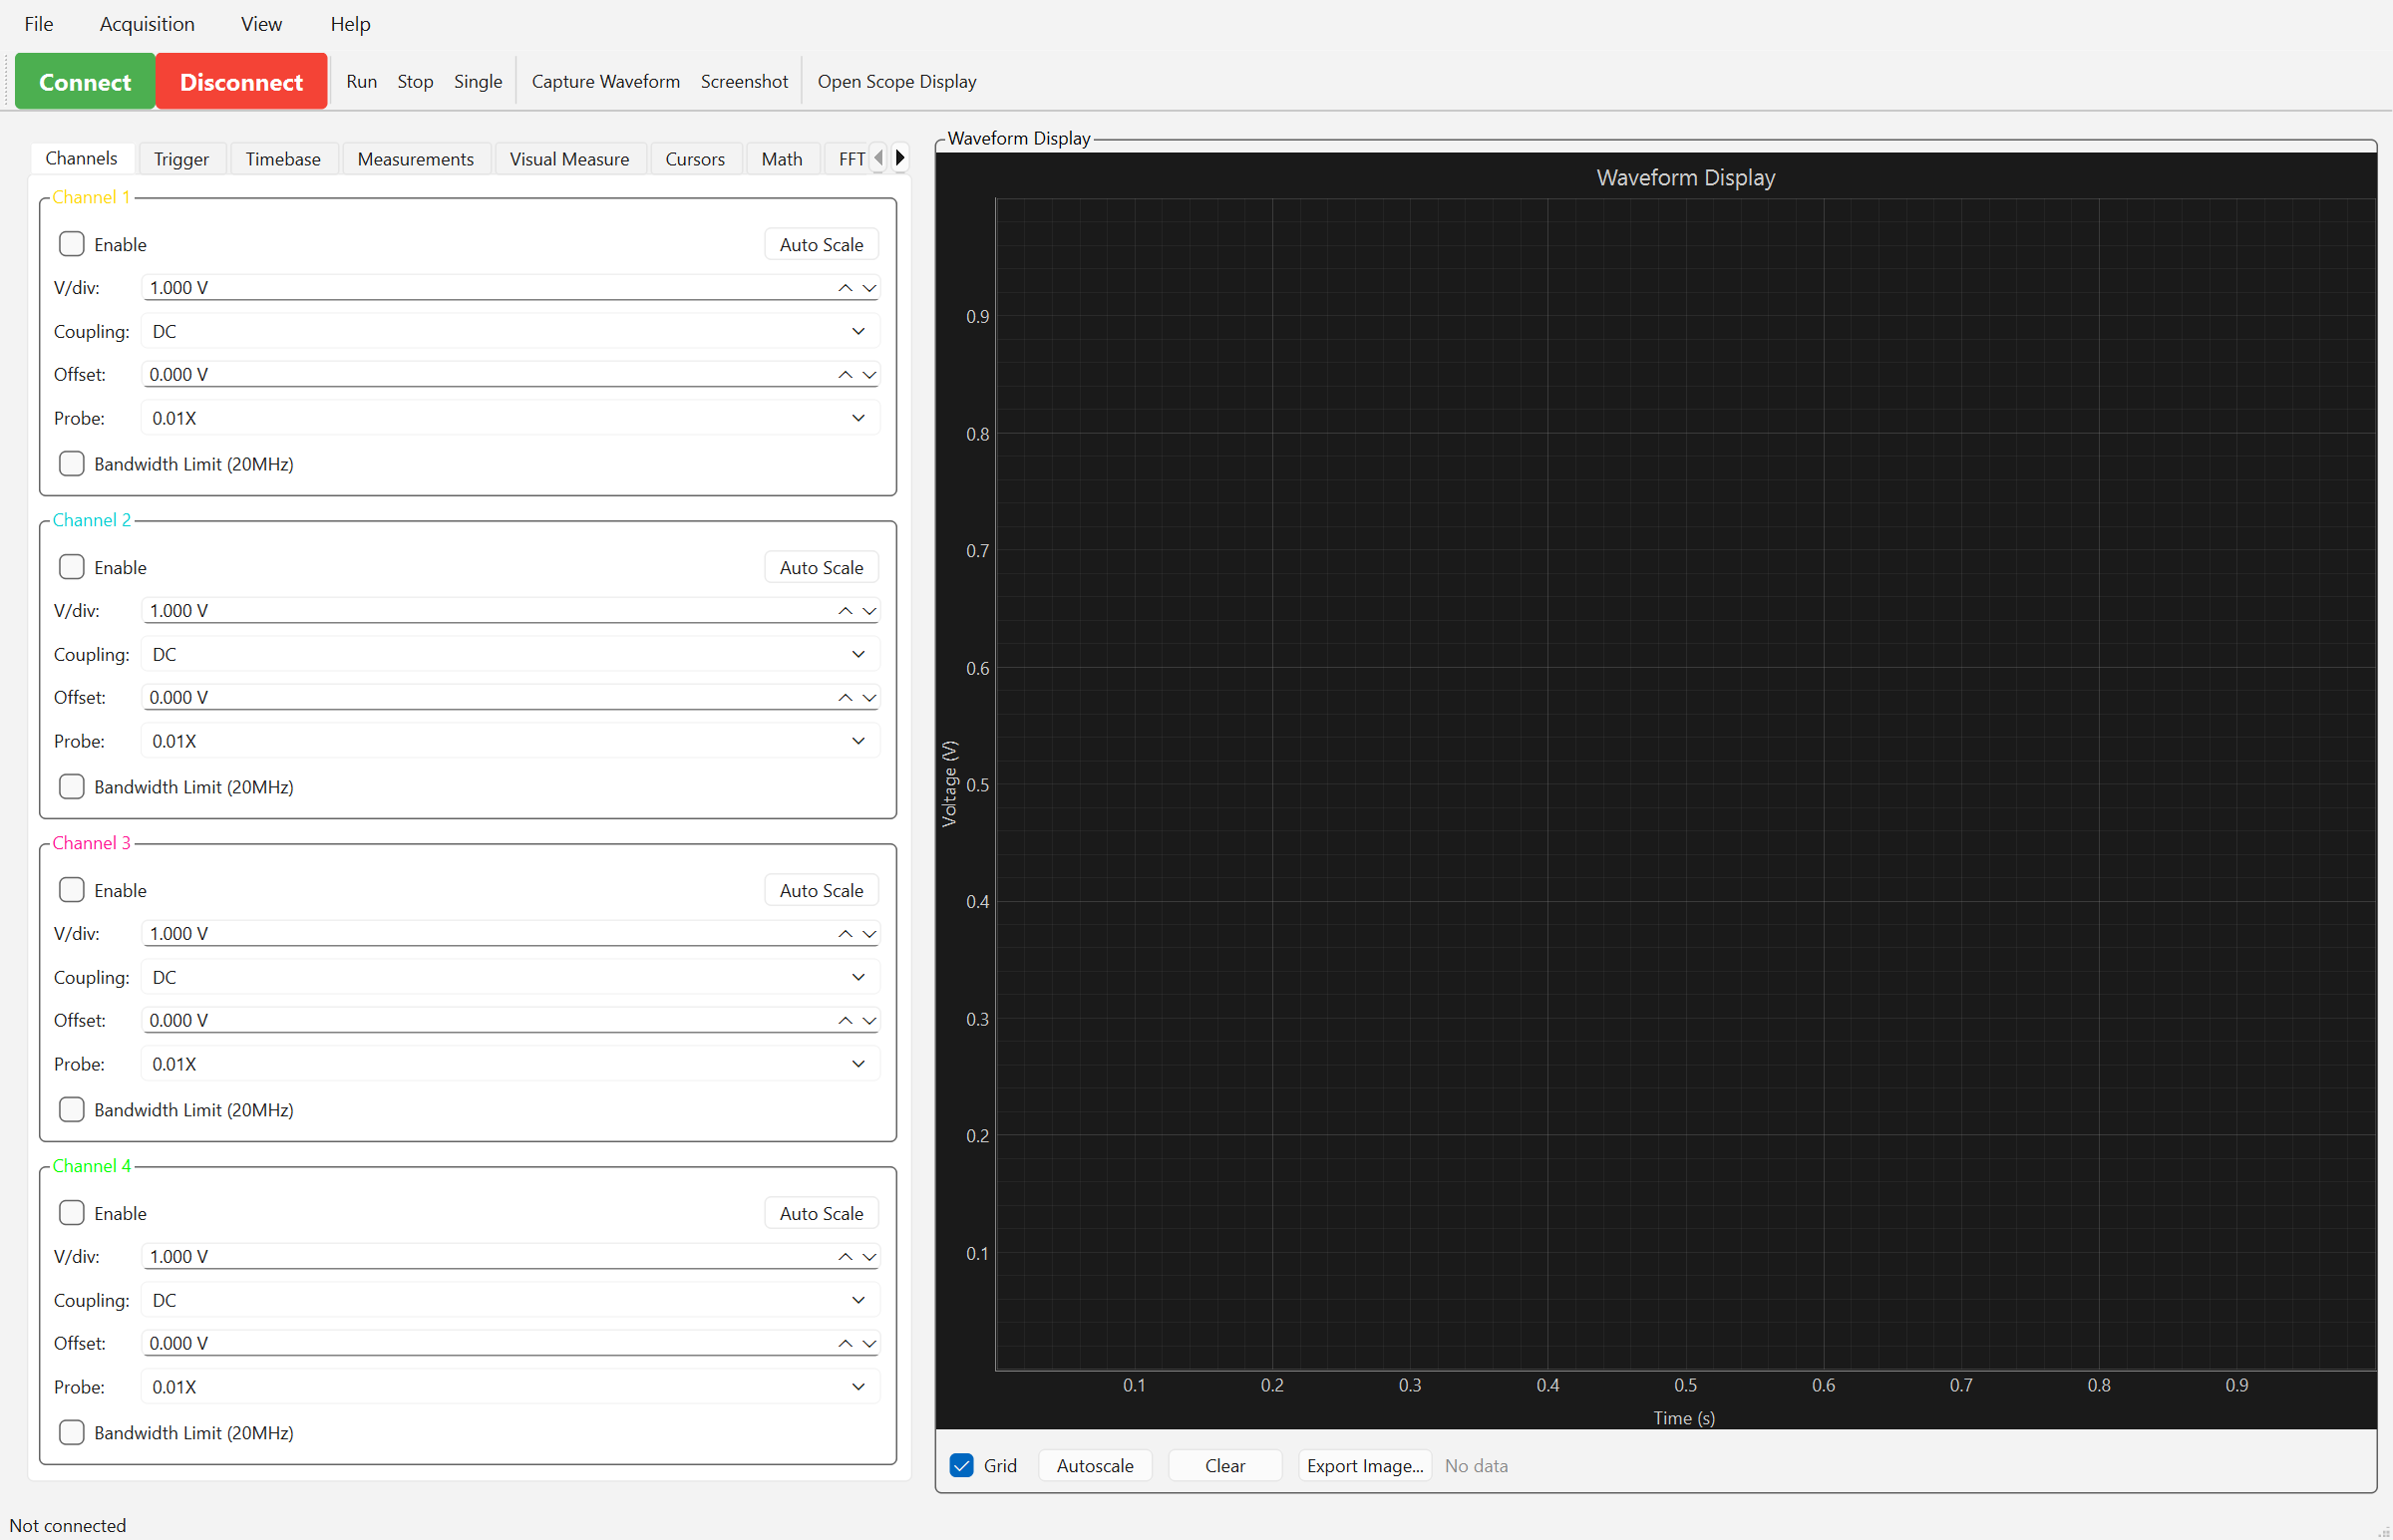
GUI Application
Launch the GUI with:
Documentation Structure
Getting Started
New to the library? Start here!
- [Installation](getting-started/installation.md)
- [Quick Start](getting-started/quickstart.md)
- [Connection Setup](getting-started/connection.md)
User Guide
Learn all the features
- [Basic Usage](user-guide/basic-usage.md)
- [Waveform Capture](user-guide/waveform-capture.md)
- [Measurements](user-guide/measurements.md)
- [Advanced Features](user-guide/advanced-features.md)
Examples
Real-world code examples
- [Beginner Examples](examples/beginner.md)
- [Intermediate Examples](examples/intermediate.md)
- [Advanced Examples](examples/advanced.md)
API Reference
Detailed API documentation
- [Oscilloscope](api/oscilloscope.md)
- [Channel](api/channel.md)
- [Trigger](api/trigger.md)
- [Waveform](api/waveform.md)
Community & Support
- GitHub Issues: Report bugs or request features
- Discussions: Ask questions and share ideas
- Contributing: Contribution guidelines
License
This project is licensed under the MIT License - see the License page for details.